

MAIL SERVER uses SMTP protocol as the server that performs the task of mail management to control the amount of mail sent and received to avoid spam mail cases, virus intrusion leading to mail block.
Set the server to use the domain name vdata.cf
mục lục
- Step 1: Change the server name to mail.vdata.vn using the command
- and add an MX record to use the mail server on the domain management web
- Step 2: Edit the server’s hosts using the command
- Step 3: Add the host ip and mail domain add the command
- Step 4: To install netstat use the commands
- Step 5: Install the necessary packages using the command
- Step 6: To create zimbra folder use command
- Step 7: To download zimbra use command
- Step 8: To extract the ZCS 8.8.10 file use the command
- Step 9: Then go to the file using the command
- Step 10: To run the file using the command use the command
- Step 11: Select y to agree to install packages
- Step 12: After checking the pointed mail.vdata.cf domain, press enter to continue the installation process
- Step 13: Then choose 7 and 4 to choose to set password for admin mail
- Step 14: Then follow the instructions and save to /opt/zimbra/config.
- Step 15: Then go to the web to check https://mail.vdata.cf:7071
- Step 16: If you want to send a message to a new mail, enter the name of the email you want to send to and click send
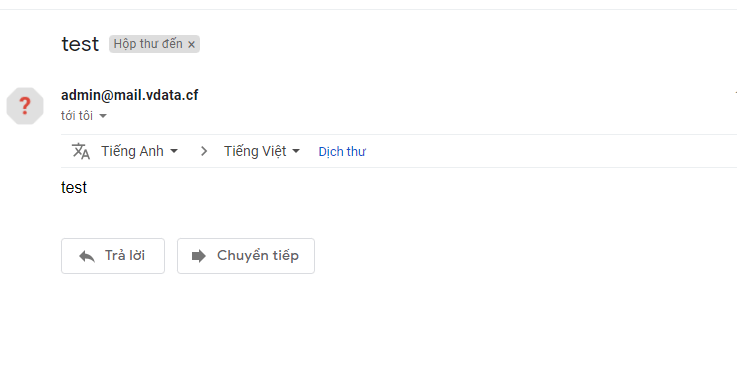
- Step 17: Check sent successfully
- Conclusion
Step 1: Change the server name to mail.vdata.vn using the command
hostnamectl set-hostname “mail.vdata.cf”
and add an MX record to use the mail server on the domain management web
![]()

Step 2: Edit the server’s hosts using the command
vi /etc/hosts
![]()
Step 3: Add the host ip and mail domain add the command
ip mail.vdata.cf mail
![]()
Step 4: To install netstat use the commands
yum -y install net-tools
![]()
Step 5: Install the necessary packages using the command
yum install unzip net-tools sysstat openssh-clients perl-core libaio nmap-ncat libstdc++.so.6 wget -y

Step 6: To create zimbra folder use command
mkdir zimbra && cd zimbra
![]()
Step 7: To download zimbra use command
wget https://files.zimbra.com/downloads/8.8.10_GA/zcs-8.8.10_GA_3039.RHEL7_64.20180928094617.tgz

Step 8: To extract the ZCS 8.8.10 file use the command
tar zxpvf zcs-8.8.10_GA_3039.RHEL7_64.20180928094617.tgz

Step 9: Then go to the file using the command
cd zcs-8.8.10_GA_3039.RHEL7_64.20180928094617
![]()
Step 10: To run the file using the command use the command
./install.sh
![]()
Step 11: Select y to agree to install packages

Step 12: After checking the pointed mail.vdata.cf domain, press enter to continue the installation process

Step 13: Then choose 7 and 4 to choose to set password for admin mail

Step 14: Then follow the instructions and save to /opt/zimbra/config.

Step 15: Then go to the web to check https://mail.vdata.cf:7071

Step 16: If you want to send a message to a new mail, enter the name of the email you want to send to and click send

Step 17: Check sent successfully
Conclusion
We have just completed the steps to configure and install the zimbra mail server running with the domain name mail.vdata.cf here we can manage and set up our own mail server system under the business domain name.

 Tiếng Việt